29.6.12

Keep It Real

In my first post, I declared myself a feminist. Today's post follows those lines. This week Miss Representation is hosting Keep It Real, a movement dedicated to real beauty. All of this originated from a beautiful, challenging, amazing young woman named Julia Bluhm, an 8th grader if you can believe (I was not this responsible as an 8th grader), who has a petition for Seventeen magazine to do this photo spread in each issue. If you're committed to helping change the world for current and future girls, or even just appreciate the idea, it would mean the world to me, Julia, and the entire movement if you would just put your name on the petition.  The goal is to get every major magazine to have one un-photoshopped spread of the models in each issue. I really believe that would show girls how amazing being yourself is and that looking like a model isn't even possible.

I believe in so much more than that, as do all feminists. Our secret: we tackle one issue at a time, banding together across the world.

I want my daughters to have a safe, happy life; these hypothetical daughters don't even exist yet, are years off, but they inspire more of every action I take than most people my age understand.

I want my sons to respect women in all shapes and sizes, and to be critical of the media's interpretations of women. These future boys have changed the way I interact with men.

I'm young, Godric knows it, and I am shy of the level of the experience most women expect from someone as dedicated as I am. But these are not setbacks or even misqualifications. I believe in changing the world, and sometimes, you just need belief. Belief is what really changes the world anyway.

So keep it real. Find beauty in life and search for it your whole life; don't accept anyone else's standards of beauty. Be yourself, because that is the most beautiful, stellar thing in the whole world you could be.


Today, my real beauty is an unapologetic size 6 in bold colors and patterns with second-day, untamable curls. 

22.6.12

Gooey Chocolate Chip Cookies

I've been craving chocolate chip cookies for weeks, but not just any chocolate chip cookies. These are a special kind; you know it: soft and warm, gooey on the inside with a little crunch on the edges. The recipe I learned from my Mama isn't quite what I wanted. She likes hers nice and thick, full of flour. While I love Mama's cookies, they weren't what I'd been looking for.

I've spent weeks hunting down the recipe that had exactly what I was looking for and I found it. A secret ingredient: honey. These were spectacular, but a quick warning: they're extremely sweet. Don't believe me? Ask the dishes!

I adapted these from Scientifically Sweet, a great cookbook and a fun website.

Ingredients:
1 2/3 cups flour
1/2 tsp plus 1/8 tsp baking soda
1/2 tsp salt
10 Tbsp unsalted butter, at room temperature
1 cup packed dark brown sugar
1/4 cup granulated sugar
1 tsp honey
1 large egg
2 tsp vanilla extract
12 oz chocolate chips

Whisk together flour, baking soda, and salt in a medium bowl. Set aside. (Truthfully, this always seems a ridiculous step to me; this recipe has you dump it into the dough all at once, so if you want to skip this step, be my guest.)

Cream together butter and both sugars until lighter and a little smoother. It took me about one minute.

Add the honey, the egg, and vanilla, mixing thoroughly.

Add flour mixture into the sugar mixture all at once and sit until it's all mostly combined. Add chocolate chips and mix with a rubber scraper or wooden spoon until completely combined. Don't over mix. It should be sticky but moderately moist.

Place plastic wrap directly on top of the dough and allow to sit in the refrigerator for 1 hour.

Preheat the oven to 350 degrees. Line two baking pans with parchment paper and roll the dough into balls, size depending on how big you want your cookies. Bake for about 10 minutes, or until the color you want. I like my cookies just a smidge darker, so I baked mine for 13 minutes. (That's my mama in the background; she said she would help and instead she just watched me. Ugh, moms.)

This recipe makes about 24 cookies. Don't they look warm and gooey? Again, they are very sweet, so be prepared.


Keep stirring, loves!

16.6.12

Sweet Rolls with Cinnamon Butter

I love baking, but I don't like baking without a purpose. Unless I'm really craving chocolate cookies, I won't make them without a destination. These wonderful imitation Texas Roadhouse rolls have a dual design. Tomorrow is Father's Day and my family loves these (it also might save me from driving hours away from home to eat them), and I'm attending a soiree of sorts tonight and I hate going anywhere empty-handed. I'm sure my friends don't mind.

This is an investment of time and energy, so be prepared when you begin to spend all morning/afternoon/evening making these. (Also, remember to heat the milk before you start baking.)  I started at 10 in morning and it took me until 3:30 in the afternoon, with all the rising time.

This recipe is from one of my favorite blogs, 365 Days of Baking, and here's the link to her post. Like all good bakers, she's adapted it from somewhere else and so on and so forth.

It's easy to just start a recipe without reading it all the way through, I know I've done that my fair share of times, but let me caution you: this is not one of those recipes. There is 2 1/2 - 3 hours of allowing the dough to fluff, puff, and rise plus mixing time and oven time. They don't take long to cook, thank heavens, but if you go for smaller sized ones, as I have, it could take half an hour.

With that said, I had a lot of fun. I don't make bread often, but when I do, I always enjoy it. There's hardly anything better than coating your hands with flour and kneading dough. Remember, wash your hands thoroughly before you begin and frequently as you cook. When I'm not sure about bread dough, I lightly flour my hands and stick them right in the bowl. You can tell if it's ready or not. I don't know how many other bakers advocate this hands-on approach, but I think it's the most effective.

Ingredients:
4 tsp active dry yeast (my supermarket sells individual 1/4 oz packages and I bought two of those)
1/2 cup warm water
2 cups milk heated to scalding and cooled to room temperature
1/2 cup plus 1 tsp sugar (separated)
3 Tbsp melted butter (plus more for brushing)
7-8 cups flour (I used 8)
2 eggs
2 tsp salt


Mix the yeast, warm water, and tsp of sugar until the yeast and sugar are dissolved. Add 2 and 1/2 cups flour and let stand for 10 minutes until light and foamy. (It looks like, if you poked it, it would be like trampoline material.)


Add rest of sugar, melted butter, and eggs to the mix and beat well.


Add remaining flour, one cup at a time, until it thickens and turns to soft dough. This is where my magic "making do" comes into place. After two cups, I had to switch from my hand-held mixer to a rubber scraper. It took double the time and my arm hurt pretty good.


I ended up adding 5 1/2 cups of flour to the original mixture.


If you're uncertain if you've added enough flour, dust your fingers and then dig your hands in to the bowl. You'll feel if it's still to soft. Once you've got it the right consistency, place it on a lightly-floured surface. I used my counter. Let sit on surface for 10 minutes. While it's being dough, prepare a medium-sized bowl by spraying it with cooking spray.


Knead dough until it's soft and smooth. I use an odd combination of the heels of my hand and my knuckles. It helps to eliminate air bubbles.


Take the ball of dough and put it in the bowl of cooking spray. Turn it over until it's fully coated. Cover with plastic wrap, making sure it's tight. Allow to rise in a moderately warm area until it's double in size. This takes about 1 1/2 hours and I let it sit until the hood light of my stove.


Punch the dough down in the bowl and then flour your counter again. With a floured rolling pin, roll out the dough into a rectangle. It took up half my counter. Also, if you've never done it before, be warned: rolling out dough is difficult and takes patience. It will keep scrunching back up to its original form as you roll it out. Constant vigilance! Then fold it in half and roll the edges slightly to close it. Allow to sit for 10 minutes.


Cut up the dough into as many pieces as you want. I got about 54 small rolls out of the rectangle above, but if you want bigger ones, cut them that way. Grease cooking sheets (I used three) and put the dough on them. Cover with a slightly damp towel and allow to rise for 1 hour. When they're double in size, preheat the oven to 350 degrees Fahrenheit and cook for 10-15 minutes.


Allow to cool for 2 minutes on pans, then move to wire racks. When they're cool, serve and enjoy or put them away.

I recommend serving them with cinnamon butter, recipe below.

According to my brother, these turned out exactly like Texas Roadhouse's, which is good to hear.


Cinnamon Butter
4 sticks butter
3 tsp ground cinnamon
1/2 cup honey
1/2 cup powdered sugar
1/4 tsp vanilla


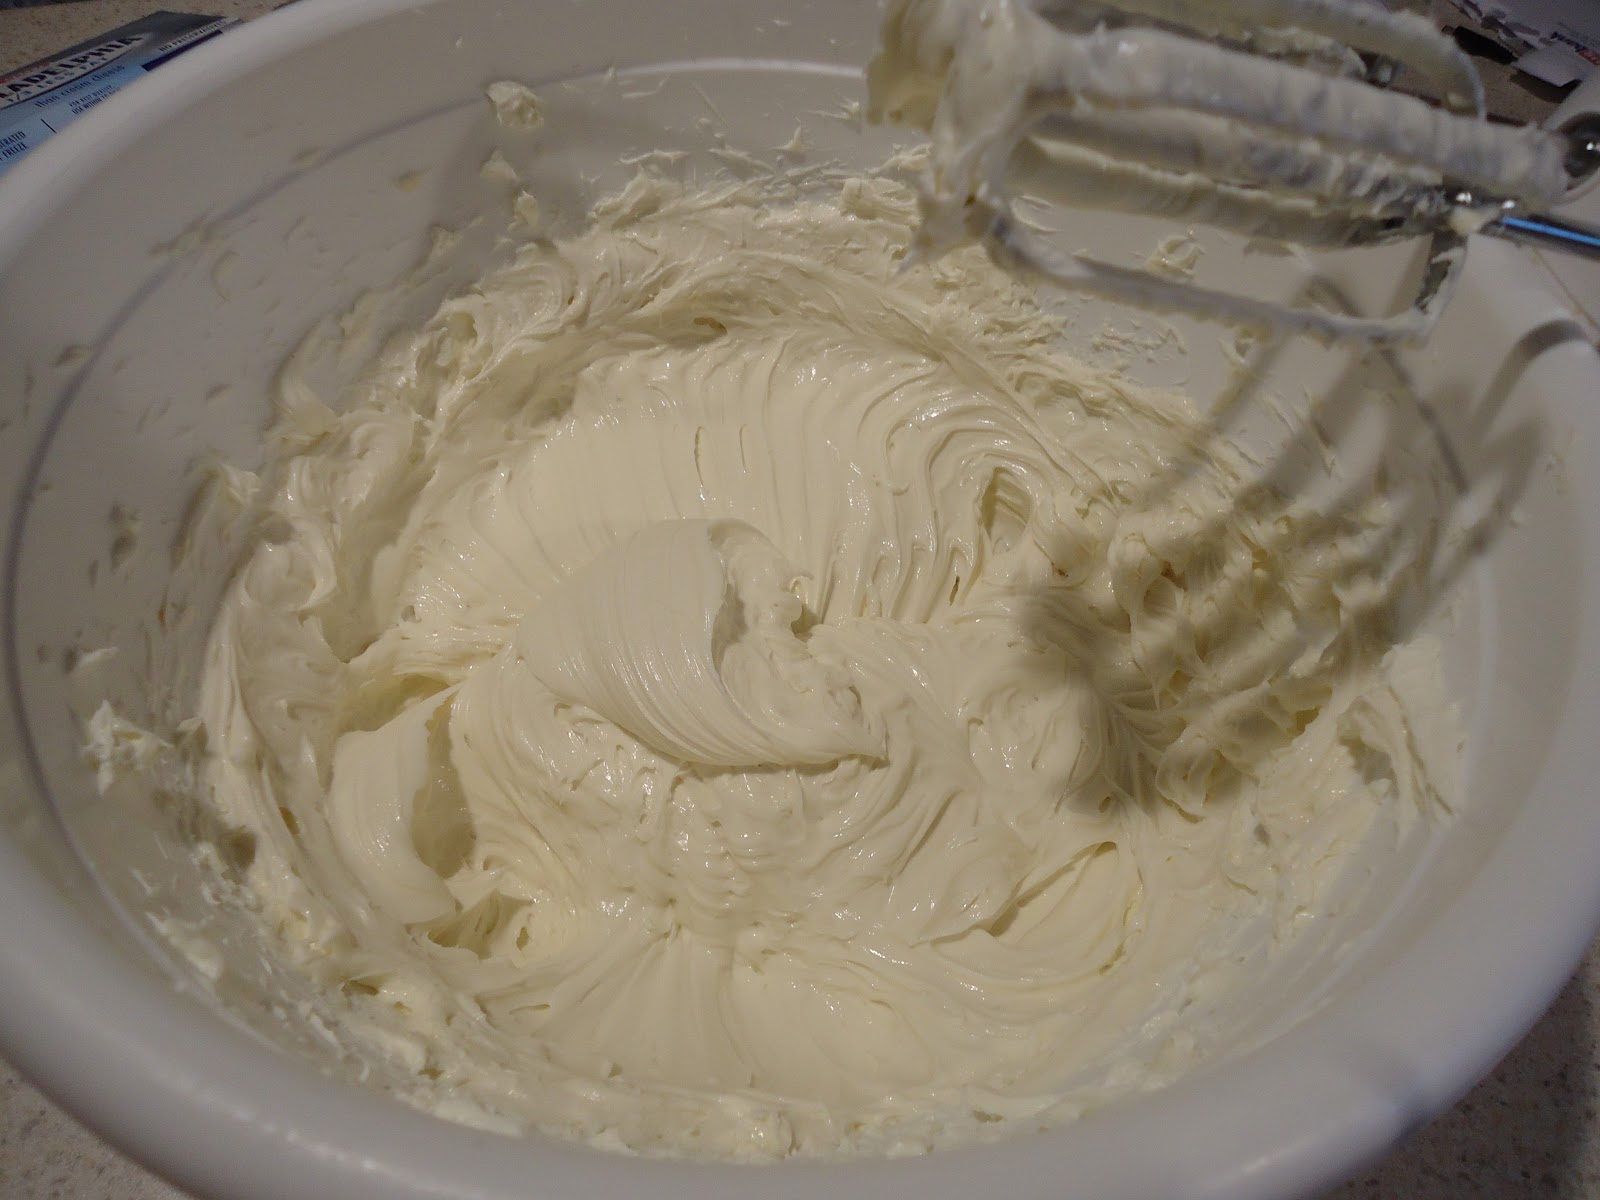
Beat the butter, adding one stick at a time, on medium for at least 30 seconds or until light and fluffy. Add vanilla and beat again. Add powdered sugar, honey, and cinnamon and beat until thoroughly mixed. Put away; this can be kept at room temperature or refrigerated.


It filled up three small tupperware containers, as you can see here. Perfect for the three places I'm taking these lovely rolls.


Keep stirring, loves!

13.6.12

No Bake Layered Cheesecake Bars

So today, I managed to square a deal with life: I cooked. I really needed it, too. I did well on my calc test, but yesterday and today's classes were awful and I still haven't finished all of my thank-yous. Class stress always seems to equal cheesecake in my mind.

Quick aside: I use a hand-held mixer, which may give slightly different results, because my mom isn't interested in a KitchenAid that does the work for her, she's a bit old-fashioned that way I suppose. I am completely and totally in love with a green apple 5-quart Artisian and am hoping to be able to buy it later this summer. On top of all the stuff I need for college, of course (an iPod, a new computer, a telescope, a collapsible laundry hamper, light-weight and easily transportable drawered-containers, textbooks, etc. etc. etc.). So, for now, I'm making do. (You'll find out more about how I "make do" when I bake sweet rolls.)

Well, I didn't want to labor for a whole afternoon, so I went with a no-bake version of this cheesecake. It's simple and easy; it took me probably thirty total minutes to scrap together the entire final result.


Assemble the ingredients and try to find all the cooking utensils you'll need before you begin. I hate running around the kitchen as I bake.

Ingredients:
Graham crackers, crushed
1/2 stick butter, melted
2 Tbsp sugar
8 oz. semisweet baking chocolate
4 pkg. (8 oz each) cream cheese
1/2 cup sugar
1 tsp vanilla
8 oz whipped cream (if you buy frozen, let thaw before baking)


Crush up one package of graham crackers (about 1 1/2 cups) and pour the crumbs into a bowl. Add sugar and melted butter. Mix with a rubber scraper, but not an electric mixer or it'll clump.


Press the mixture into a 9x13" foil-covered pan. Put in the refrigerator to harden up a bit while you mix.


Melt 3/4 of the semi-sweet chocolate (6 pieces)--for easy recipes like this, I prefer the microwave, 30 seconds at a time until all melted. Set aside to cool slightly.


Mix up cream cheese, sugar, and vanilla until smooth.


Add whipped cream and mix on low until smooth and creamy.


Separate half into another bowl and add the melted chocolate into one, mixing thoroughly.


Melt the last two squares of chocolate (15 seconds at a time in the microwave) as you layer the chocolate first and then the vanilla cheesecake. With the chocolate, have a lot of patience; it sticks to the graham crackers and will attempt to ruin the whole thing if you go too quickly (I found out the hard way). The vanilla layer takes much less effort. Drizzle the melted chocolate over-top. (As you can see, I had drizzling issues--it was too cool for the effect I intended and stuck to the spoon a bit.)


Put in the fridge for at least 3 hours. I was at work when the 3 hours were up, so mine sat for 6. Truthfully, this was not enough time. They look firm until you pick them up and then they jiggle like jello. I've never like no-bake recipes and this was another notch in their grave. I can list the things I wouldn't have done with a normal cheesecake and not cooking the crust so it was still very crumbly and adding so little butter start it off. I won't use this recipe again, but if you want to give it a try, go for it. Maybe you'll think of something to do that gives it some stability.


Lift out of the pan by the tin foil and spread it out flat on the counter. Cut up into squares--I went with about 1x1"--and package up. I stuck them into the freezer once they were put away. They firmed up a bit more, although I lost a lot of the crust. I'm not sure what the freezer actually did, but I hope it was enough. These beauties ('cause they don't look so bad, do they?) are now off to a somewhat-surprise birthday party. I hope they're good even though they're not right.

Keep stirring, loves!

11.6.12

Ingredients List

It's just a few short days post-graduation and, even with college summer classes, I'm feeling a little flat. There's something that spices up life I'm currently missing.

Ah, there it is. Cooking. I'm hardly the best or most experienced, but I love it. I made 600+ cupcakes for my graduation party; that experience put me off the kitchen for the last few days, but now I think I need to start again.

Before we begin mixing and oven-ing, I suppose I'll let you in on some details about myself.

I recently graduated high school with plans to attend Michigan State University to study astrophysics. I'm taking Calculus II and African-American Literature at my local community college for the first half of the summer. I started watching Game of Thrones so don't be surprised if I mention it a time or two. I really believe in human rights and I proudly declare myself a feminist (although the tolerant, you-should-think-of-it-positively kind where I don't care if you want to be a stay-at-home mom or never tie yourself to one person, so don't get smart with me about it). I've been cooking all my life, but it wasn't until the past year that I became really interested in it.

I'll be straight up about this: I sincerely, deeply despise onions, peppers, mushrooms, fish, or seafood, so it's unlikely I'll cook with them unless extraordinarily important. But, don't let that deter you: please suggest recipes. I love trying new things.

Unfortunately, I don't have any cooking stories to post at the moment, but I will be back later this week. I want to use Wednesdays as cooking days, but we'll see if life likes that idea.

So tie on your apron and gather those ingredients. We're off to work!