So, I've had a bad weekend. One little thing on top of another, with enough big things to drive a person crazy. So I've had it. I needed to bake, something long and complicated. Truthfully, pastry dough is not the hardest thing in the world, but it's taken me all afternoon to make these turnovers.
On an unrelated note, look at my cute monsters from my best friend for graduation! She knitted them herself. (Knitted? Knit? Knot? What's the past tense?) The big one in green and white is in MSU colors; she's named Gertrude. The little one in Minnesota State colors is named Astrid. Direct quote: "So even when we're apart, we can still be together."
This is a concotion of recipes with even my very first creation premiering. Exciting, right? This will be done in three separate sections and hopefully you'll like the end result as much as I do.
Pastry Dough:
Ingredients:
2 3/4 cups all-purpose flor
2/3 cup cake flour
1 tsp salt
3 1/4 sticks unsalted butter, chilled
1 cup ice water (plus about 4 tbsp)
Chop 6 tablespoons of the butter and drop into a large mixing bowl.
Add the flours and salt.
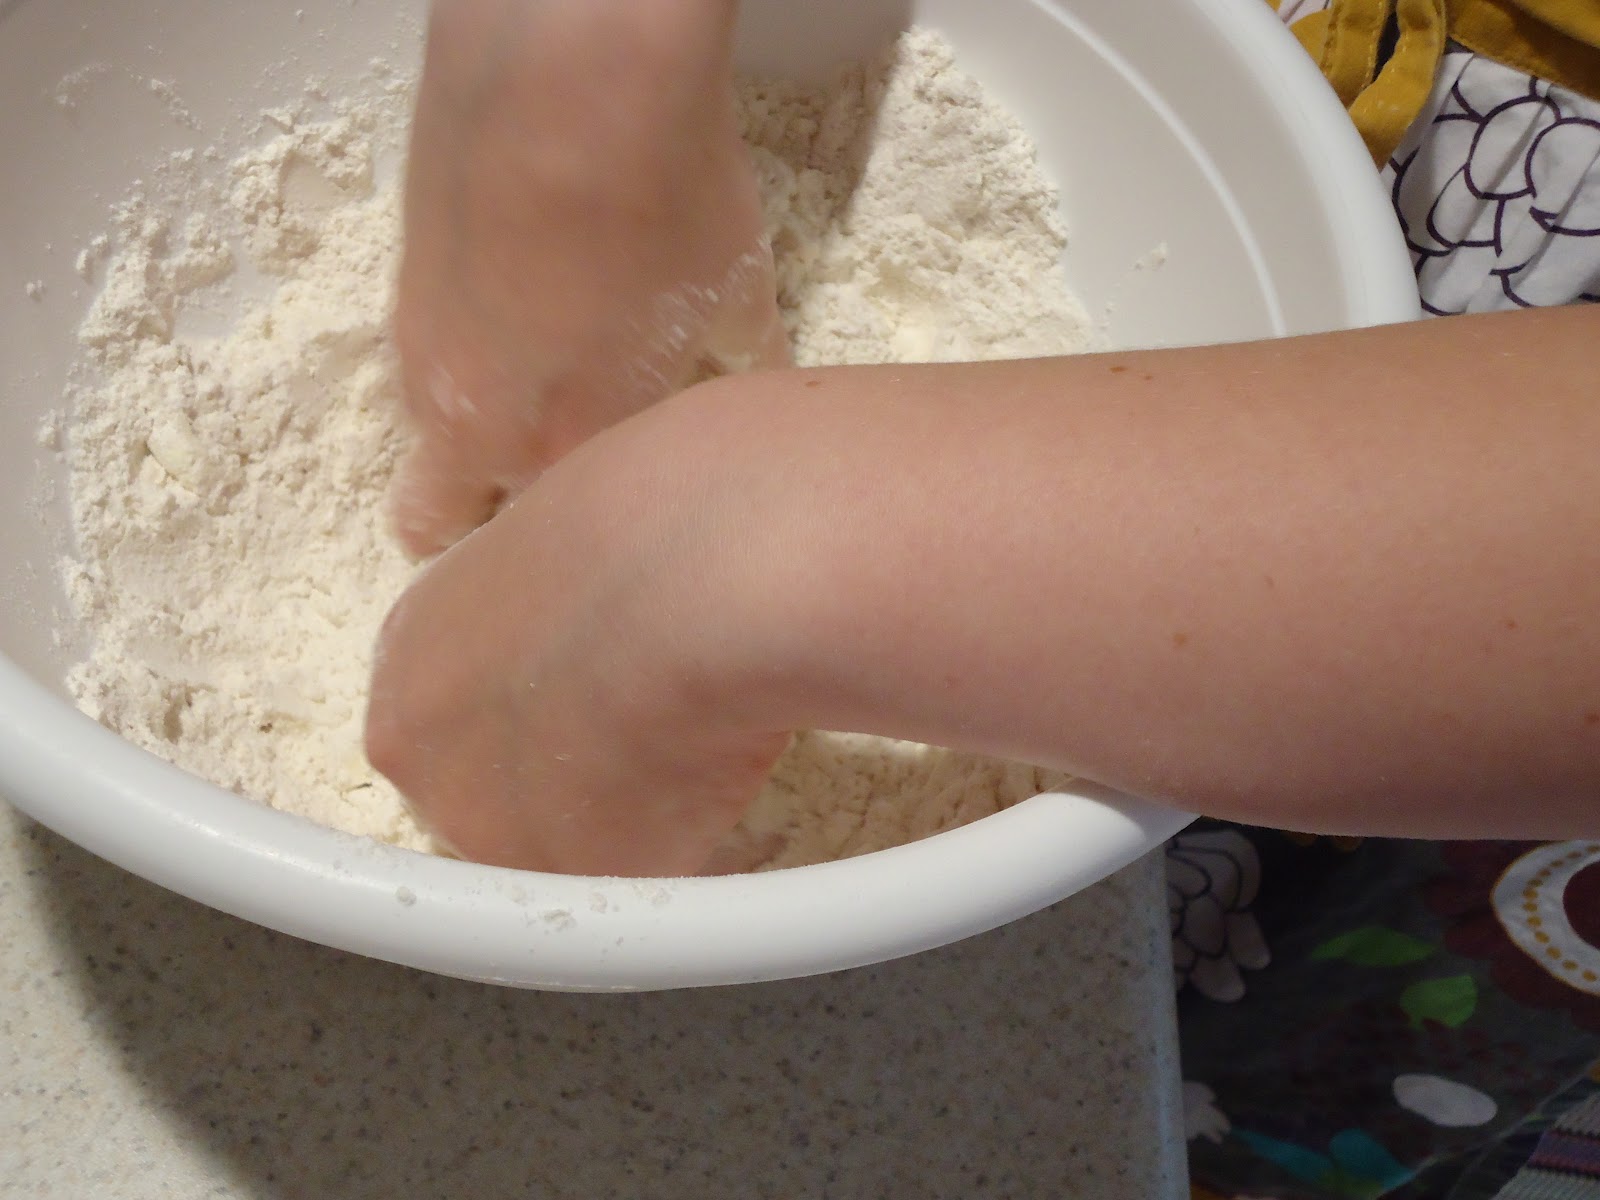
Either use a pastry blender or your hands (as I did) to blend the ingredients together until it forms a coarse meal like a pie crust.
Aww, don't I look cute? Yeah... my mom doesn't get to be my food photographer anymore.
It takes about 5 minutes to get the desired level of coarseness.
Create a hole in the middle and add the water.
Using a rubber scraper, mix the dough until rough and sticky.
I added 4 tbsp during this process in order for all of the flour to mix.
Wrap it up in plastic wrap and place it in the refrigerator for 1 hour.
Take the remaining butter and smash it out. No, seriously. Roll it and smash it and use the heels of your hands. This takes almost 20 minutes to do properly, so keep at it. Yes, my arms are tired now. When you're all done, arrange it into some semblance of a 5-inch square.
Remove the dough from the fridge and, after flouring the counter, roll it out into a circle 12 inches in diameter. Place the square of butter in the center of the circle and fold the edges of the dough over it. Pinch the edges together so it's a smoother line. Then, roll out into an 8x16" rectangle. Fold in thirds, such as when you fold a letter, and the roll it out again. Cover and put back in the fridge for another hour.
An hour later, flour the counter, roll it out in an 8x16" rectangle. Fold in thirds. Roll out again. Fold again into thirds. Place back in fridge for 1 hour.
Repeat.
Yay, it's cooking time! Roll it out in a square after flouring the counter
very lightly, or somewhat of a square. My dough is about 1/4" thick; I would've rolled them out to 1/8" if I had known how much the dough actually does puff up.
Slice with a pizza cutter. (Cut more evenly than I did.) Cut according to the size you want to eat. I made them small. Fact: they flip open when they cook if they're small. Make small at your own risk.
Cherry Filling:
(This is my premier recipe. Pretty snazzy, eh?)
Ingredients:
2-12 oz. jars of cherry preserves
1/2 cup white sugar
2 tbsp corn starch
1 tbsp honey
Place one jar preserves, sugar, and honey. Mix well. Add the first half of the second jar and mix well. Add 1 tbsp of corn starch. Mix very well. Add the second half of the second jar and the second tbsp of corn starch.
It'll look a little something like this. (I used a regular tablespoon for all of the filling mixing.)
Scoop a little bit of filling onto each square, amount depending on preference. Grease two baking sheets and after you've added filling, fold the squares in half whichever way you like and place them on the sheets. When you've put them all on pans, it'll look like a murder scene took place on your counter.
Bake for about 17 minutes. Watch carefully, though, it might take less time depending on your oven.
While they're cooking, whip up some icing. 1 cup powdered sugar and 1/4 cup milk. Whisk together until fully mixed. Then, allow it to hang out until the turnovers are done. (If you make it right away, whisk a bit every four or five minutes, to keep it from congealing and stuff.)
Not too shabby if I do say so myself. I do admit I am still learning, so they could have been better, but they turned out okay. I will make the bigger next time, and I will post a picture of their next adventure in order for you to see my progress through one of my favorite desserts, in life.
Keep stirring, loves! And here's a picture of me and my dad, just making our dinosaur faces:


No comments:
Post a Comment
We live in a world where everyone has their own opinions and I respect yours. However, I expect you to respect mine and other people's as well; if anything you have to say is less than respectful in any way, please don't post it, or I will delete it. Thank you for understanding my dedication to mutual, worldwide respect.